Photography How-To
This is basically my main photo setup when I’m going to really get into an involved shoot. I’ve taken 3 different photography classes just because I wanted to improve my photography in general (though that isn’t really needed for those of you doing it as a hobby).
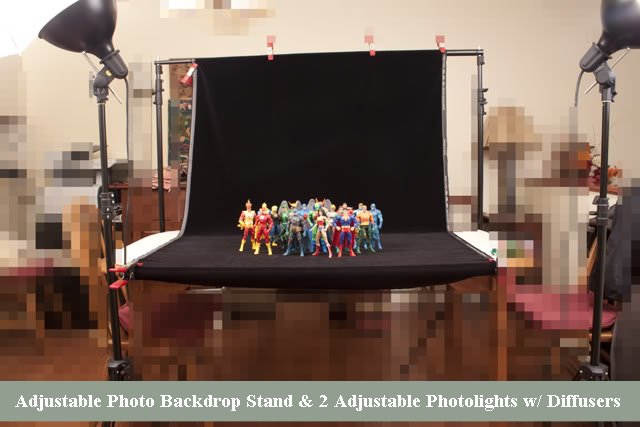
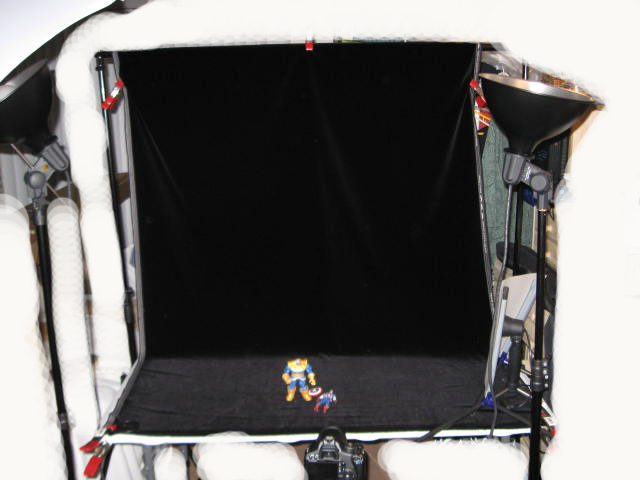
This is an adjustable photo backdrop kit I bought at a local photography store. The kit came with the 2 poles that extend up to 8 feet, the bar that attaches between them (also extendable), and a roll of white photo paper. The black you see in the image is black velvet I bought at a fabric store. It’s a yard wide, and 6 feet or so long (to give me some flexability with what I can shoot; for depth or height). I also bought the 2 photographer grade lights with diffusers, and bulbs. These are also not really needed as I spent many years using cheap LED lights that worked fine, and just needed a little post production help. I am trying to seqway this into some possible paying work, so I invested the money on the equipment.
For my camera, I currently use a Cannon DSLR. If you don’t do a lot of photography in general though, a good point and shoot camera with at least 10 Megapixels will be more than enough to make this hobby fun. NOTE: Make sure the camera has a MACRO setting if you don’t go the DSLR route, as that setting will be instrumental in getting clear shots.
Now, for those on a budget, a large piece of smooth paper taped to a wall and sloped onto a table or counter can get you the same effect as I get, or you can also buy a photo cube online (or a local photography store if you have one, and they carry them). Like this one at Amazon.com
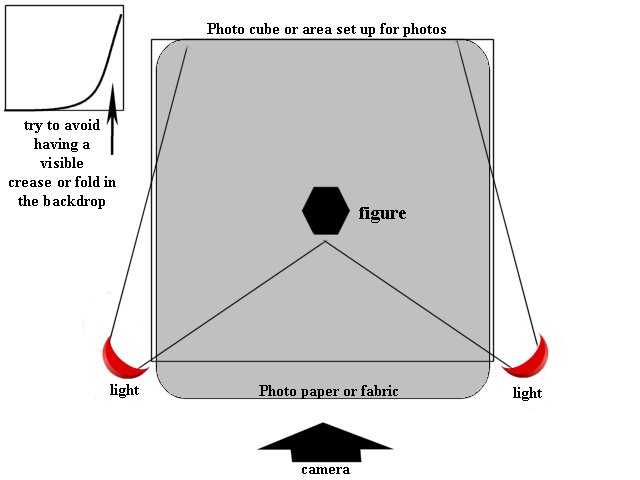 This diagram shows the basic setup and placement of light whether I’m using the photo cube (which is what this was designed to illustrate) or my large backdrop setup. The only difference with the larger setup is that I face the lights backwards so the diffused light from the umbrellas is what hits the figures, and not the harsh light from the bulbs (which in that case, can get quite hot). The general idea is to get the lighting where you want it, so it gives you the proper effect or mood you’re going for. If you want a moodier/darker shot, shut all the other lights off, and close any curtains in the room, so the only light the camera will pick up is the one you have on the figure (wherever it’s positioned). The other thing I learned early was that a tripod is your friend. If you can’t shoot using a remote trigger, set the time on your camera, get the shot setup, press the button and get your hands out of the way. Camera shake is one of the biggest issues for any photographer, and if you’re trying to get a shot in the dark, you definitely don’t want to shake the camera while it’s trying to compensate for the lack of ambient light. Again, I personally have a professional grade tripod that extends to 6 feet high, but any simple table top version they sell at Walmart or Target should be fine. Even some boxes stacked in front of your area will work, if that’s all that’s handy.
Props and accessories: I have bins full of weapons, power effects, street accessories, and random fodder that I keep accessible for whatever I’m thinking of shooting. I also have them in multiple scales, since I’m not stuck to one scale in my collecting habits. I personally try to have a plan in place for what I want to shoot before I get all of my equipment out, because like many of you, I don’t have a dedicated area to keep my setup permanently at the ready. I use a 6 foot folding table for everything, and setting it all up takes a good 20 minutes, so having everything thought out (even general ideas) helps me round up all the pieces I’m going to need, so that I can sit there and work through all of it in one shot. I learned this, and recommend it to everyone, take multiple shots from multiple angles because you never know what might look best until you’re looking at it on your monitor, since the LED screen on your camera is not meant for ideal image quality. It’s also possible that the one shot you thought you nailed will end up having something wrong with it when you start to look them over. Having readymade backup options is better than trying to set everything back up in the exact same way, with the exact same lighting conditions on 2 separate occasions.
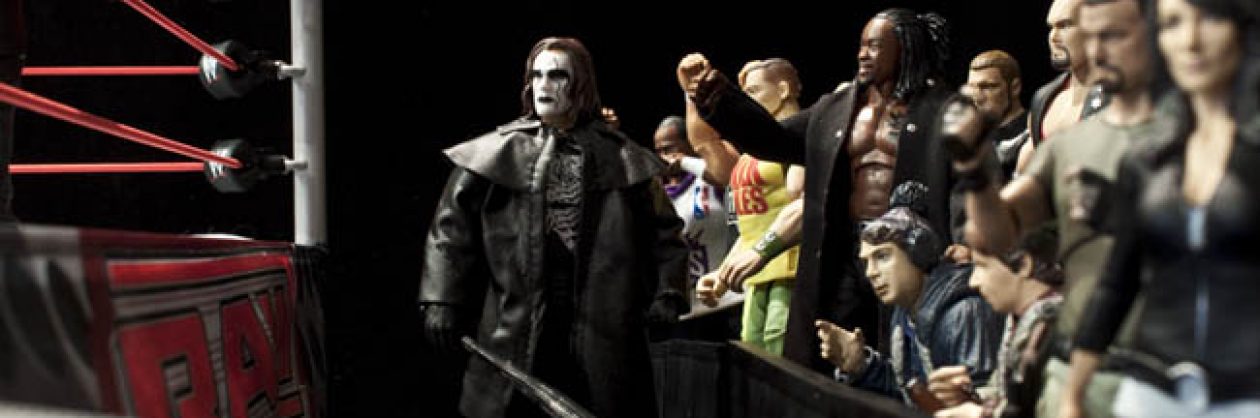
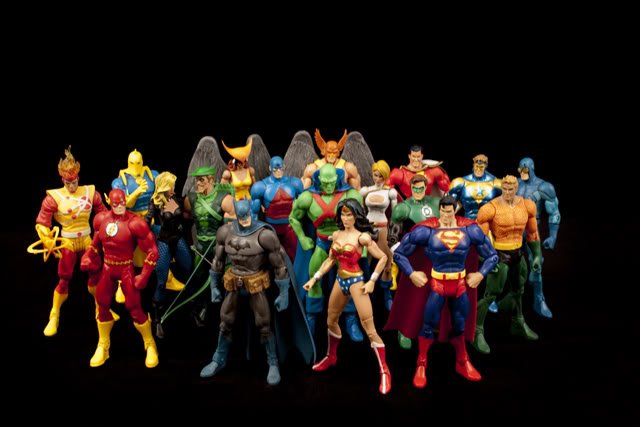
Here’s the completed shot from the setup image at the beginning.
Here’s a short video of the process as well.